A yawning gap exists between basic permit drawings and the detailed construction drawings needed to build a custom home project. Architectural detailing bridges that gap, defining how materials, finishes, and building elements come together. These details are where custom home design truly happens.
People tend to think of the floor plan as the product, the thing you buy from your architect. We get it. It’s the drawing that looks like a house. But a floor plan is a milestone, not a finish line. A lot of thinking happens before we draw a single line, and a whole lot more happens after.
What follows is about what happens after we have a refined Master Plan in place.
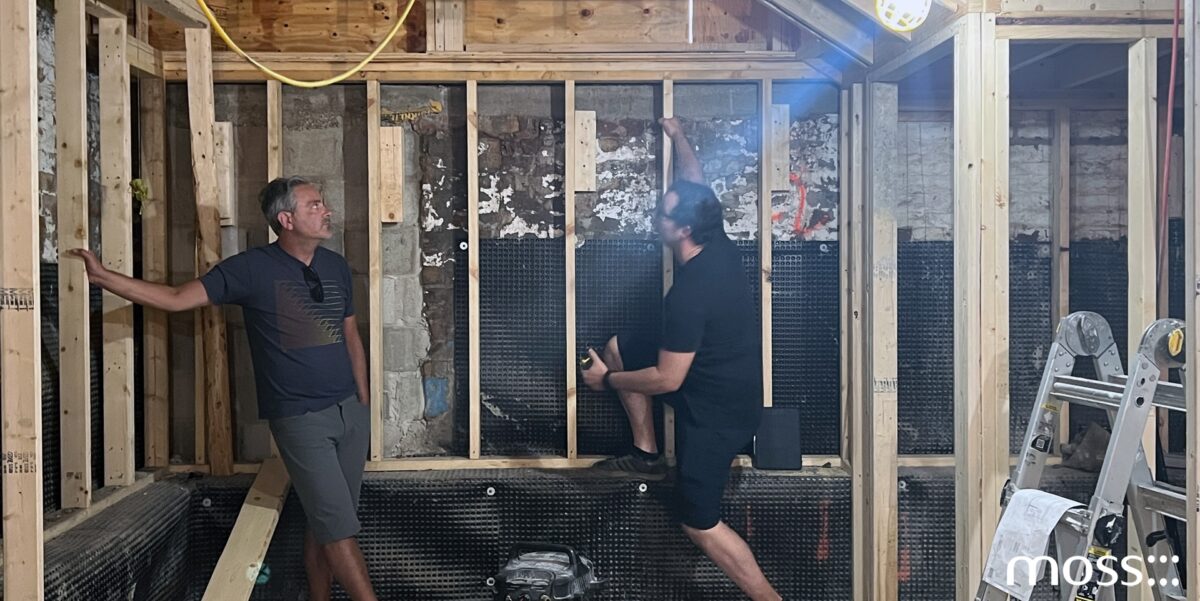
A quick story. I was recently on a jobsite with the carpenter, the window installer, and the drywaller (they didn’t walk into a bar, though), reviewing the details of a custom screen door for a large sliding glass system. The owner left to run errands. An hour later, the owner came back. We were still talking about the screen door. By that point, everyone had the look of someone who now knows far more about screens than they ever asked to.
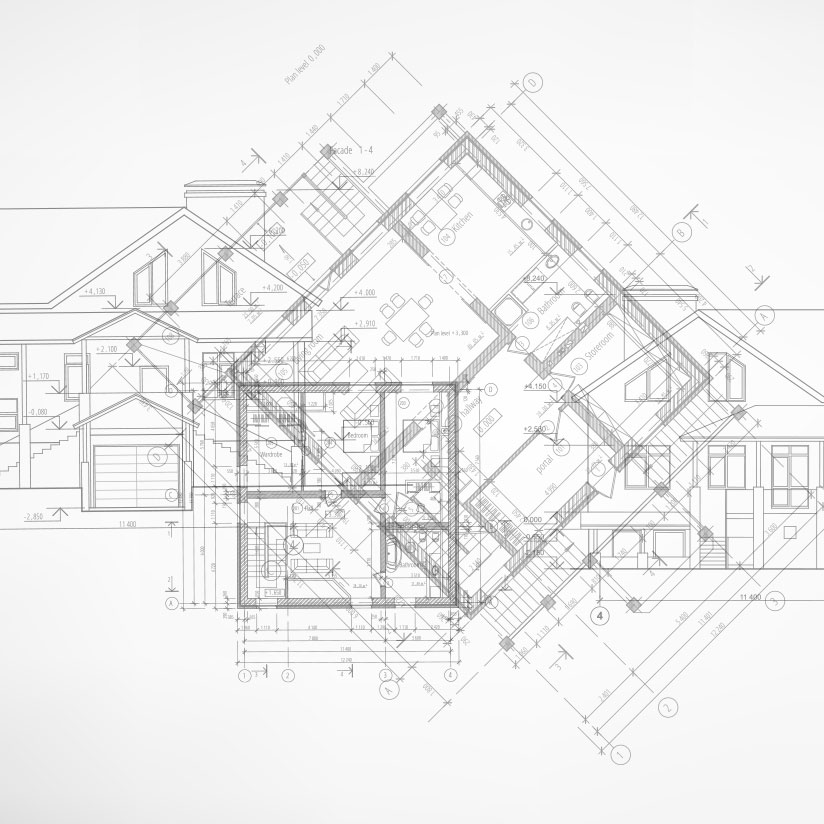
We spend surprisingly little time drawing rooms. We spend an enormous amount of time drawing room edges. And while the floor plan might take up one sheet in a drawing set, the architectural detailing that explains how the building actually comes together often takes up dozens more.
So how much detail goes into a moss project? A lot. We don’t pick a product, cross our fingers, and hope it works out in the field. Our drawings show, piece by piece, exactly how we intend the parts of a building to meet one another.



The Screen Door You Aren’t Supposed to Notice
Back to that screen door.
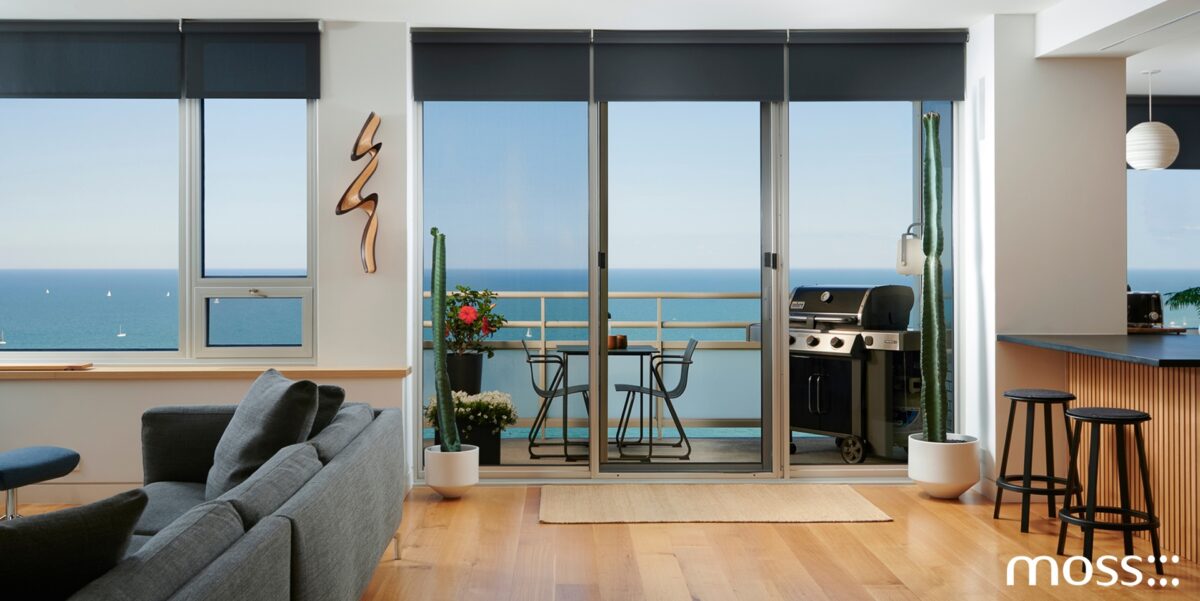
The sliding glass door system itself is expensive, currently somewhere around $1,500-$2,500 per linear foot. Why would we spend all that money and then put a screen door over the top of it with a large, unsightly housing?
We wouldn’t. But if we don’t detail it correctly, we leave the carpentry team to resolve it in the field, and they would reasonably default to a screen door that announces itself.
Instead, our drawings show how the sliding door frames into the wall and how we fur out an additional layer of framing in front of it to create a pocket for the screen housing. The screen itself isn’t really what needs to disappear. It’s the large housing where the screen coils when it retracts
By incorporating that pocket into the overall door opening, we can drywall the entire assembly in one continuous plane rather than break it up into a series of little bumps, boxes, and pieces of casing.
The eye appreciates uninterrupted planes.
We don’t specify products. We specify how those products meet one another, and that’s what architectural detailing really is.

Where the Wall Meets the Floor
Equally important, because it happens almost everywhere, is the intersection between the wall and the floor.
This one junction can easily involve five trades, which is probably why standard construction has landed on one of the clunkiest solutions in a building: applied baseboard.
Baseboard isn’t so bad on its own. But when it turns corners, terminates at door openings, runs into cabinetry, or meets other materials, it quickly becomes a design liability. It is also the perfect ledge for dust to collect and spiders to build cobwebs.
Can a design discussion really revolve around the person who will mop the floor three years from now?
Yes.
Several of our design-architectural detailing conversations have eventually veered into some version of, “How will someone clean this after we’re gone?”
Our preferred details aren’t particularly complicated and, compared with a project’s overall cost, don’t cost much. What they require is coordination.
Sometimes that means getting the finish carpenter, drywaller, flooring installer, and millworker together on site to talk through an intersection before anyone starts building.
Get everyone in the same place, and what looks complicated on paper becomes remarkably straightforward.
Detailing the Transition
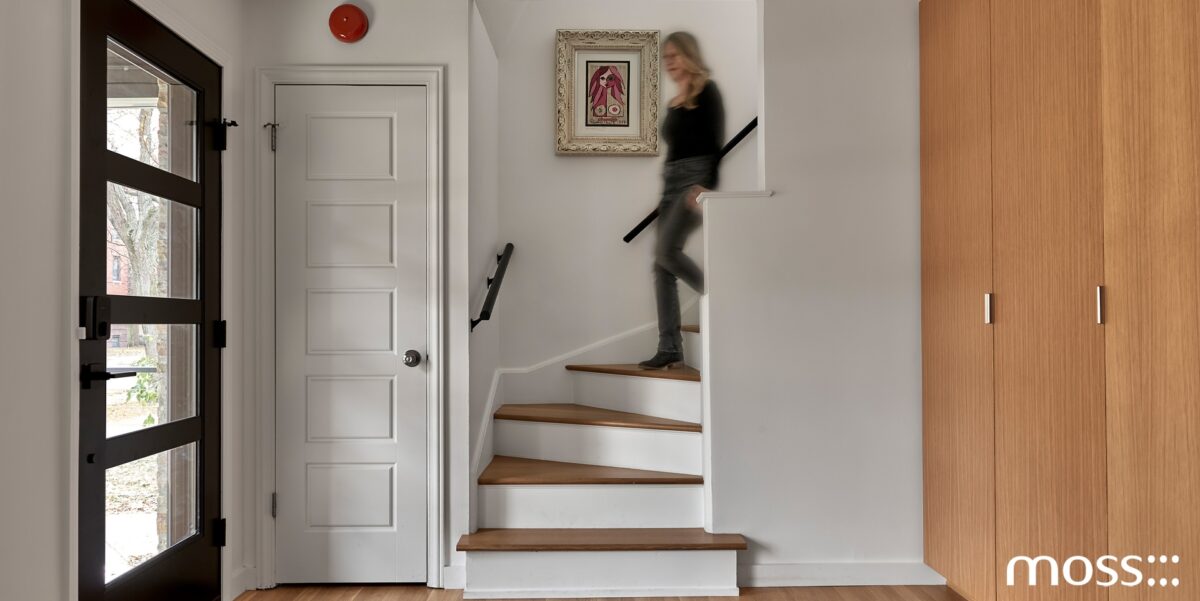
With a concrete floor, we often use a clean metal reglet, mudded into the drywall, that finishes the bottom edge of the wall. It creates a small shadow line at the floor while leaving a durable metal edge for the cleaners to run their mop against.
With a wood floor, sequencing matters more. Typically, crews hang the drywall first because it’s the messiest work, and the flooring installer follows later. We leave the drywall unfinished at the bottom so the wood floor can extend all the way to the framed wall.
The carpenter can then recess a painted wood base into the wall and install it flush with the face of the drywall. The drywaller returns afterward to finish the joint so the top of the baseboard and bottom of the drywall meet precisely.
Apply the same idea around a door opening, and the casing can disappear as well, letting the drywall terminate at a clean shadow line just before the door jamb begins.

Focus on the View, Not the Portal
We design window placement around three basic considerations: how they bring light into a space, how they provide ventilation, and what the views are both to and from the opening.
Those are the things we want the occupant to notice. We do not want them distracted by the window itself.
Once the framers establish the opening in the wall, the job isn’t simply to install a window and move on. We need to determine where the window sits within the thickness of the wall; how its head and sill align with adjacent cabinets, counters, tile, or other architectural elements; how drywall or another finish terminates against the frame; how the air and water barriers connect around it; and whether we need to conceal a shade or curtain within the assembly.
On a recent project with masonry exterior walls, we reviewed with the carpentry team exactly how they would build the interior wood-framed furring wall so the drywall return landed in the right location against the window frame.
To get it right, we had to coordinate the masonry opening, the rough opening the window manufacturer specified, the thickness and position of the window frame, the interior furring, and how the drywall wrapped the corner.
It was largely a math problem, but one we needed to draw in three dimensions so the carpentry team could build it efficiently.
The last thing we want is the carpenter making design decisions halfway up a ladder before lunch.
If we don’t draw and coordinate the condition in advance, a window we intended to frame an extraordinary view can instead become the thing everyone notices.
Permit Drawings and Construction Drawings Are Solving Different Problems
When interviewing an architect, ask what goes into their typical drawing set. Not just the floor plans and elevations, but the construction details. Ask how much information they include and how decisions move from design into construction.
A permit drawing set has a straightforward purpose: to show the building department that a proposed project complies with applicable codes. It needs to show where the walls go, how occupants exit the building, how the structure works, and dozens of other things required for regulatory approval.
What it doesn’t necessarily show is how the bottom of a drywall wall should meet a concrete floor. The building department doesn’t particularly care about that detail. But we do.
There is nothing inherently wrong with a permit-only drawing set. For straightforward construction with conventional details, the trades may be perfectly capable of filling in the blanks using familiar solutions.
But customization requires replacing defaults with decisions. And that is what we do.
If we don’t draw the screen-door pocket, someone has to decide what happens there. If we don’t detail the baseboard, someone decides. Also, If we don’t resolve the window jamb, someone decides. And that person may be standing on a ladder at 2:30 on a Tuesday afternoon trying to keep the project moving.
That is not a criticism of the trades. Quite the opposite. Our job is to give good builders enough information so they can concentrate on building well rather than being asked to become the architect in the field.
Where Architecture Begins
The floor plan is important. It establishes relationships, circulation, proportion, and a building’s fundamental organization. But it doesn’t tell us what the building will actually feel like when you are standing inside it.
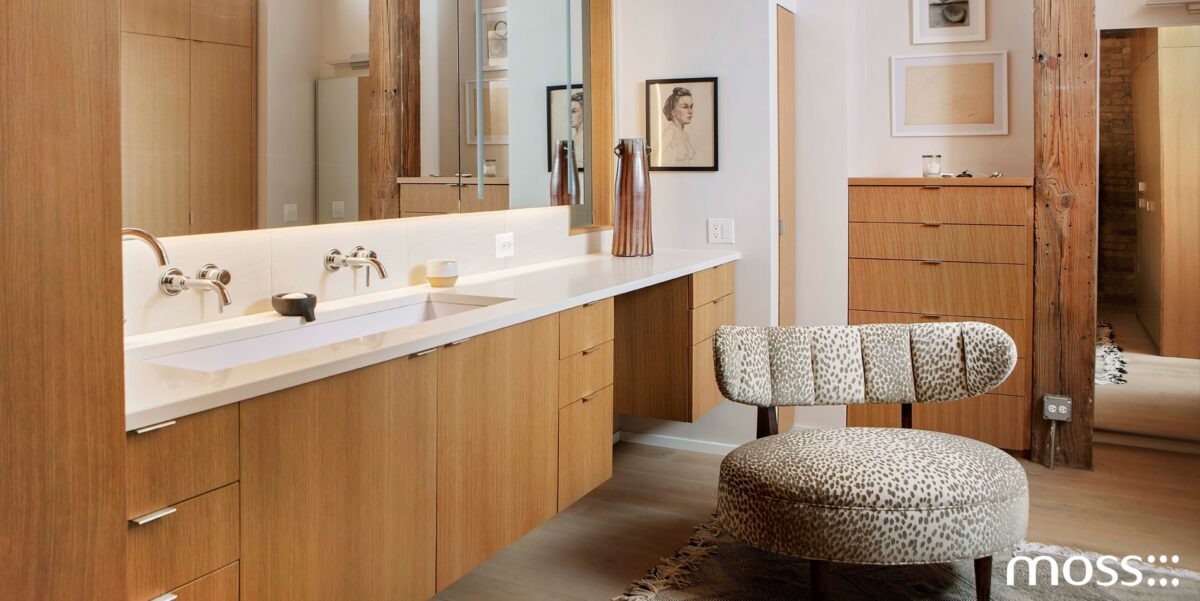
That happens at the edges: where the wall meets the floor, where the window meets the wall, where one material stops, and another begins. It is the architectural design details, not the floor plan alone, that turn a house into a custom home.
Architecture doesn’t end when the floor plan is finished. In many ways, that is where it begins.

Frequently Asked Questions
How do architectural details create a custom home?
Architectural details are the small, deliberate decisions at a room’s edges: how a wall meets a floor, how a window sits in its opening, and how one material transitions into another. A floor plan organizes space, but architectural details make a home feel considered and genuinely custom, not builder-grade.
What is the difference between a floor plan and custom home design?
A floor plan establishes relationships, circulation, and proportion. Custom home design goes further by resolving how every junction and finish actually comes together in construction. The floor plan is a milestone; the detailing that follows is where you truly design a custom home.
How do you add architectural details to a home interior?
You add architectural details to a home interior by drawing and coordinating the transitions most people never consciously notice: recessed baseboards, clean shadow lines where walls meet floors, concealed window and door casing, and thoughtful alignment of finishes. These architectural details are relatively inexpensive but require careful coordination between trades.
How do you make a builder-grade home look custom?
Replacing standard defaults with intentional details is what makes a builder-grade home look custom. Instead of applied baseboard and bulky casing, custom home design resolves each intersection deliberately, so the finished result reads as seamless and uninterrupted.
How do you master architectural detailing?
Mastering architectural detailing means drawing conditions in three dimensions, coordinating trades early, and specifying how products meet one another rather than simply specifying the products themselves. Good architectural detailing gives builders enough information to build well without making design decisions in the field.
What should you ask when interviewing an architect?
Ask what goes into their typical drawing set. Beyond floor plans and elevations, ask how much construction detail they provide, how they coordinate the trades, and how they carry design decisions from drawings into the finished home.